THIS ENTRY WAS POSTED ON September 26, 2023 BY Jamie Joy.

Where did Shibari come from?
Before we jump in, Queen SanTana emphasizes the importance of knowing the history of Shibari before touching any rope. Shibari is a Japanese verb meaning “to tie” or “to bind” and is an ancient art. The way that Shibari was utilized in Japanese culture began as a form of torture used to restrain captives. Over time, the practice of Shibari evolved to become more erotic, which spread across the world!
What rope do I use?
Many people feel overwhelmed with starting their rope bondage journey because there are so many options to choose from. Do not stress! We are here to help break it all down for you. This next section will help you understand the different types of rope as well as the pros and cons of each.
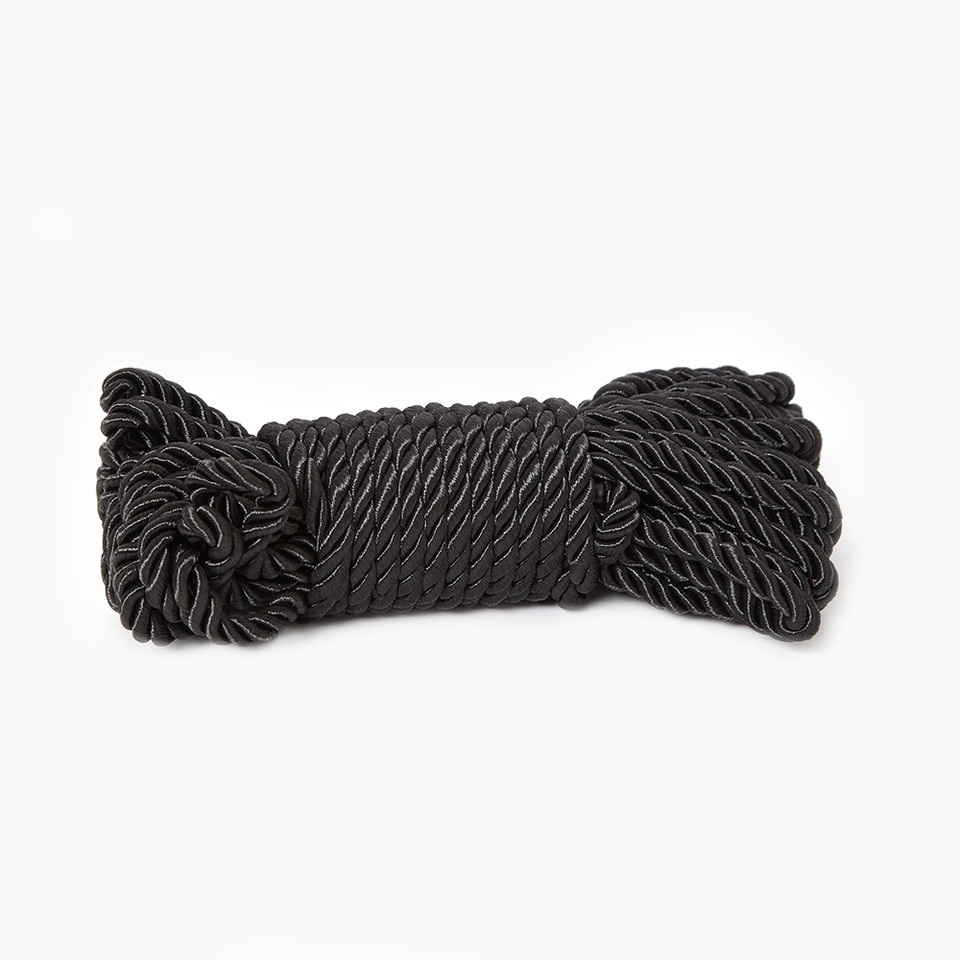
Natural fiber rope consists of jute, hemp, cotton, silk, sisal, manila, linen, coconut, and bamboo/rayon. All of these types of rope will grip well onto the body as well as itself, which is great for beginner tying. Cotton, Silk, and Bamboo/Rayon are the softer materials of the natural fiber ropes while Hemp and Jute can be rougher to the touch. The downside of natural fiber rope is that they are not great in high-moisture environments, as they can easily rot and lose a lot of their strength when wet.
Try these natural fiber ropes to get started:
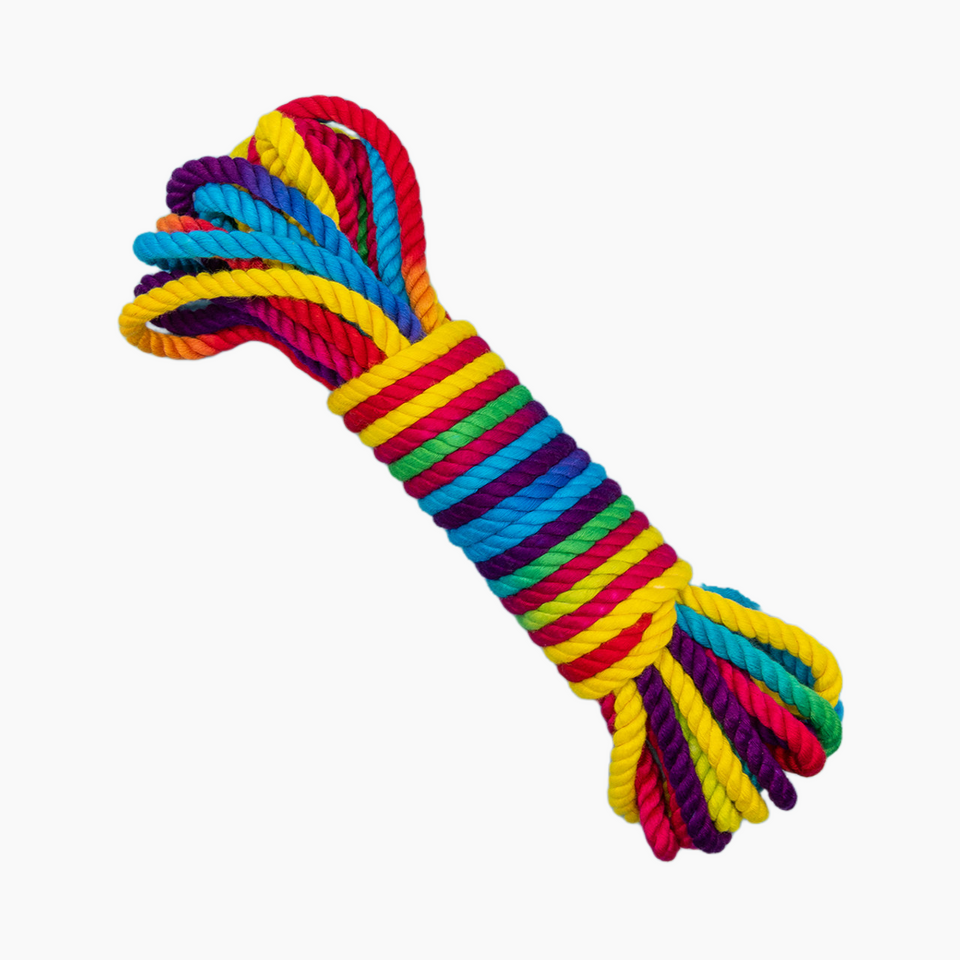 Funfetti Rainbow Bondage Rope Bamboo Silk |  Japanese Style Rope Cotton | 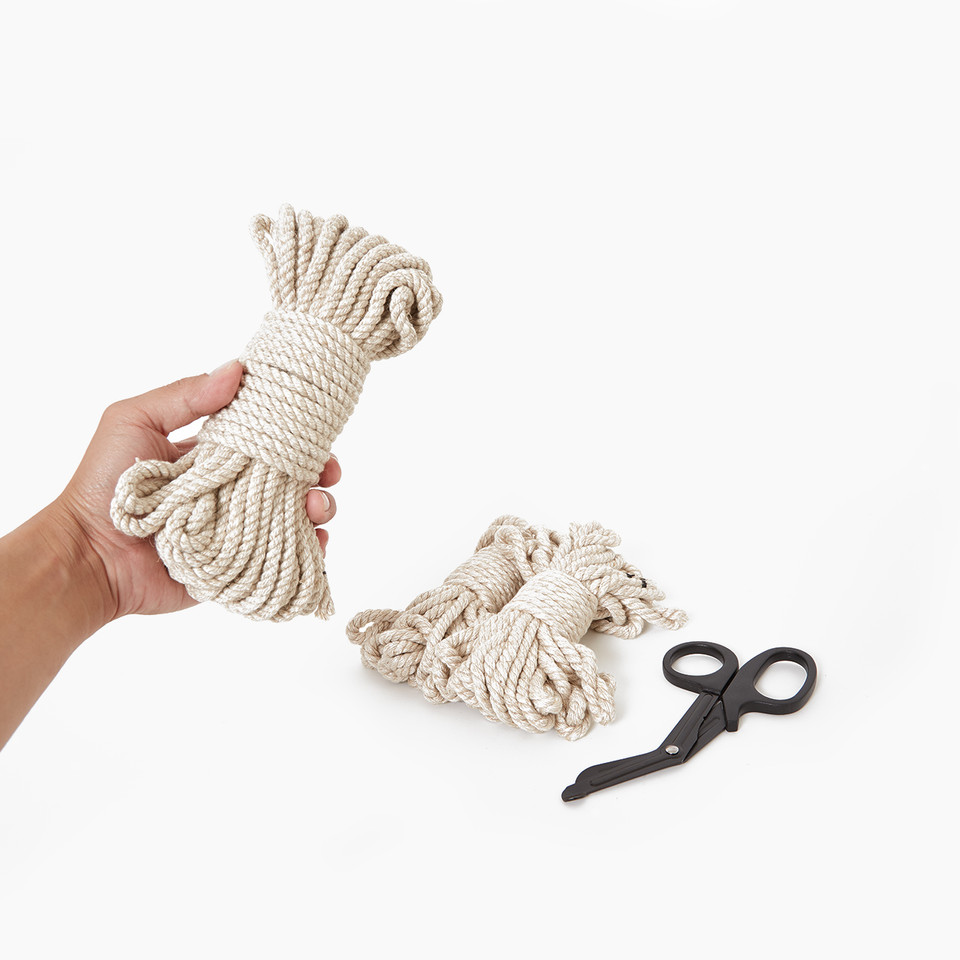 Kink Bind & Tie Hemp Rope Set Hemp |
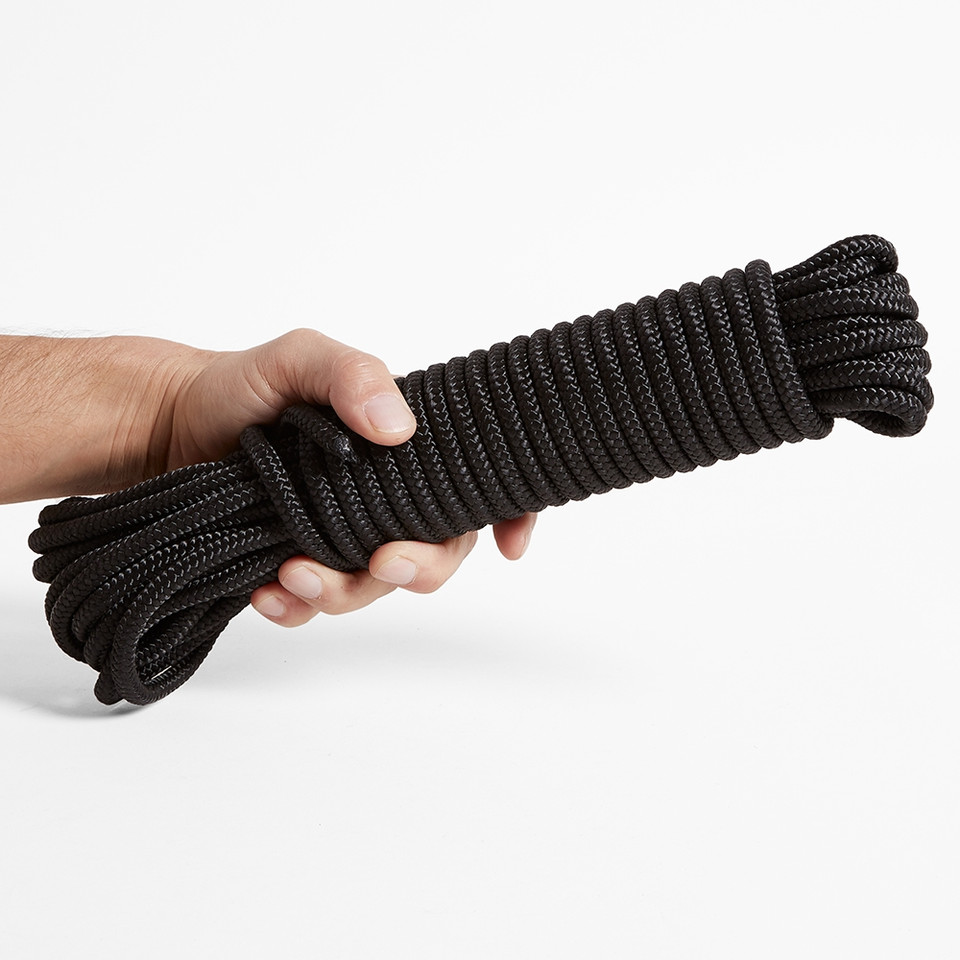
Synthetic rope consists of nylon, MFP/polypropylene, polyester, POSH, etc. Nylon is very strong, soft, stretchy, machine-washable, slippery with little grip, and not suited for beginners. MFP/polypropylene is slightly less strong, stiffer, floats in water, UV resistant, machine-washable, with little grip.
Polyester has similar strength as MFP and is also stiffer, machine-washable, and with less grip / stretch. POSH and other forms of synthetic “natural fiber” are moderately strong, look natural, machine-washable, have better grip than the rest, and are generally lighter.
If you prefer tying with synthetic rope, try out these options:
Typical rope lengths in the Western world are 30 feet while rope in the Eastern world are likely to be sold in 7 meters. When you are deciding which length rope to work with, 10ft, 15ft, or 30ft are all great options.
Rope width is another factor to consider. Most common are 6mm or 8mm in thickness. Some ropes can come much smaller for more tortuous ties, decorative ties, or for smaller body parts like fingers and feet. But those thinner ropes are more advanced so stick to 6mm as a beginner.
Note: all machine-washable rope can be thrown in the wash on a delicate cycle with a light detergent. When you put your rope in the wash, make sure to put it in a pillowcase or mesh bag and not mix your natural fiber and synthetic rope. All rope must be hung and air dried - never put rope into the dryer!
Rope Safety

Queen SanTana considers rope bondage to be one of the most risky forms of kinky play, which is why understanding the risks is key. The most common type of injury in rope bondage is nerve damage and nerve compression, which occurs when rope puts excessive pressure directly on a nerve. Because nerves control all our sensations and movement, this type of injury can be anywhere from mildly annoying to seriously debilitating. The most common symptoms of nerve compression are tingling and numbness, like when your foot falls asleep from sitting on it. Nerve compression can also feel like sharp pain, itching, burning, or coldness.
The best way to mitigate the risks of nerve compression is by making sure that you can place at least one or two fingers in between the rope and the skin so that the rope is not too tight. And of course, communicate, communicate, communicate! Check-ins during rope bondage are crucial to ensure that the person being tied up is feeling good.
Queen Santana also suggests avoiding ties near and around joints such as the wrists, elbows, knees, and ankles. You can also avoid bulky knots that might dig into the skin. While tying parts of the body that involve the upper limbs, monitor motor functions like opening and closing hands. Her favorite tip to mitigating risks is caressing the person being tied (or yourself if self-tying) in order to keep blood flow circulating. Understanding anatomy will make you better at practicing rope safely, which will improve your skills whether you are tying or being tied.
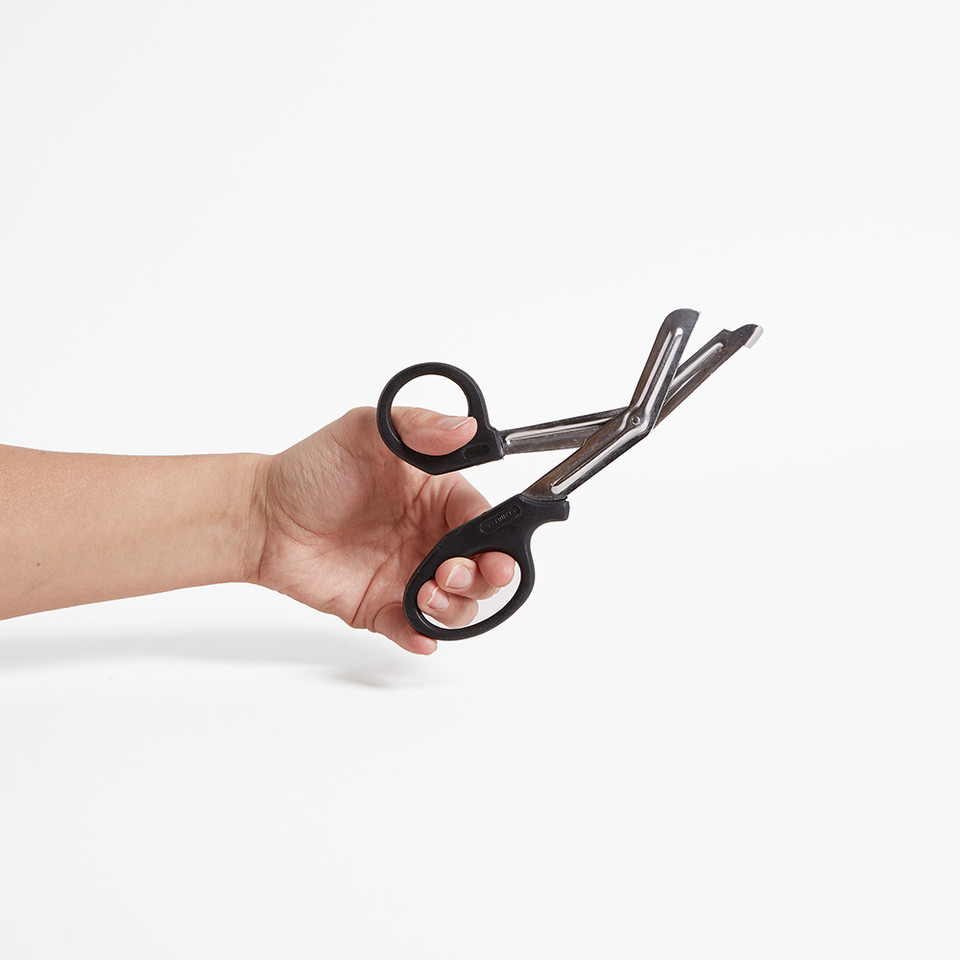
Think you’re ready to jump in? Just wait! The last thing you need is a basic rope bag / kit. Being prepared is sexy so don’t forget the essentials: safety shears to cut the rope if necessary, Ibuprofen in case of a rope injury, and water/snacks for nourishment.
Rope Glossary
Let’s discuss some terms that we will use while describing each tie:
Band - one or more pieces of rope across the body
Bight - the center of the rope when it is folded against itself; any loop of rope created by folding it against itself
Cuff - two or more wraps, usually around a wrist, ankle, or leg
Friction - any point where the rope is held in place by crossing on itself
Harness - any pattern of rope tied in a way that is designed to hold the body and support its weight
Hitch - a method for attaching one rope to another
Working End or Running End - the part of the rope you are actively tying with
Tension - how tight the rope is pulled and/or applied to the body
Beginner Ties
So now you know the history, understand the risks, and you’ve got the vocabulary down. Time to pull out that rope and learn some ties!
Lark’s Head

We will start this knot by finding our bight. The way that we find our bight is by connecting the two ends of our rope together and then running your hands across the rope. Most fundamental ties will start with the bight.
Wrap the rope around the part of the body that you want to tie with the bight on one side and the working end on the other. Pull the working end all the way through the loop of the bight and tighten it. If you pull it towards one side, you will feel it tighten. If you pull it towards the other side, you will feel it loosen. Queen SanTana says this is your first lesson on counter tension!
Single Column Tie
If you search online to learn a single column tie, you will find that there are many different ways to accomplish this. Queen SanTana offers us a simplified version for beginners to make this easier to grasp.
Place your bight in your right hand and your working end in your left hand. Wrap the working end of rope around the part of the body you want to tie until you see three lines across the body part you are tying. Whenever you see these three lines (bands) in rope, you can turn this into a tie. Bring the three lines into one band. The bight goes over the entire band, including the working end, and then back under. Once you center the bight and the working end, you will notice a twist in the middle, which Queen SanTana calls a pit stop - you are on the right track!
Finally, take the bight behind the working end and bring it through the loop you just formed and pull tight. If you want to make the tie more secure, you can repeat the last step and make a second knot.
A single column tie around the chest, stomach, or waist is a great starting point for a body harness! After you complete the single column tie, use the working end to wrap the rope over each shoulder, looping the rope through the bands on the back to create tension. The objective is to use up the additional rope so that you can tie it off at the end. To tie off the last bit of rope, find a spot to make a knot or you can weave it over and under the bands until the rope is gone.
Double Column Tie
The difference between a double column tie and a single column tie is that there is going to be a cinch in the middle in order to connect two body parts together.
Queen SanTana demonstrates this on wrists. Ask the person you are tying to hold their wrists out in front of them. Place the rope over both wrists to form a band. Continue wrapping until you form those three lines. The bight will cross over the band above the wrists and then around the band below the wrists. Once you have the bight back on top and centered with the working end, you can tie it off with a simple knot.
With the wrists tied together, you can use the rest of the rope to create a restrictive tie. Pull the working end over the person’s head so that their hands are behind their head with the wrists tied up behind the neck. From here, you can get creative by wrapping the rope around the waist to form a band. Feeling naughty? Run the working end along the center of the butt, then back to the front through the legs, and around the hips to create a crotch harness. Loop the working end through the waist band for each wrap to create tension and hold the harness in place. Queen SanTana emphasizes that your objective with rope is to make sure everything is compact. If the rope is too loose, it will not stay.
When untying the rope, follow exactly the way that you tied. Go slowly as you are pulling the rope undone to avoid rope burn, using your hand between the rope and the skin to help create a barrier.
Certain ties and positions might be hard on the body. Queen SanTana suggests guiding the person tied up out of the rope slowly while massaging the joints to prevent pain and discomfort.
Don’t Forget Aftercare!
Aftercare is the time, attention, and activities given to everyone involved after a BDSM or sexual experience. Rope bondage aftercare is just as important as aftercare for sex. Queen SanTana encourages talking with each other before you start tying about what everyone will need after.
Once the person is fully out of the rope, make sure to drink water and stretch. Check in with your body for any potential nerve damage. Massage and movement will help bring blood circulation back to the area and soothe the areas of the body that were compressed from being tied.
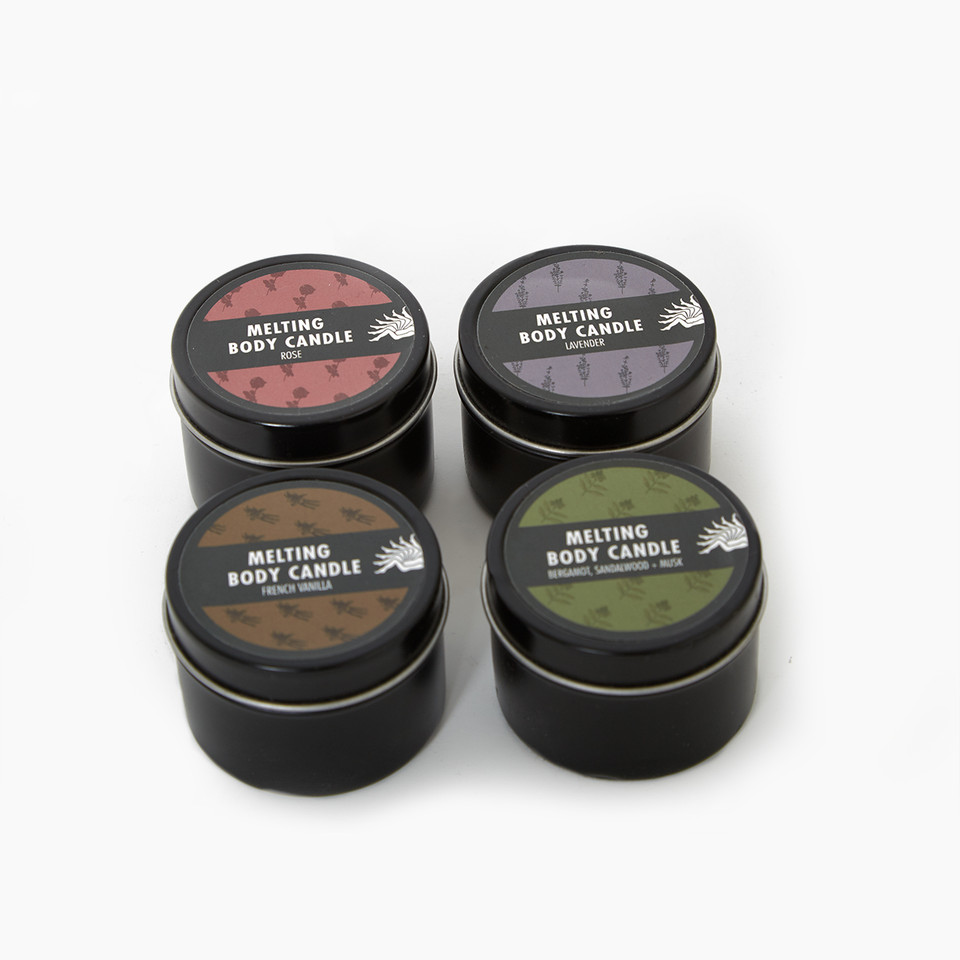 P.C. Massage Candle | 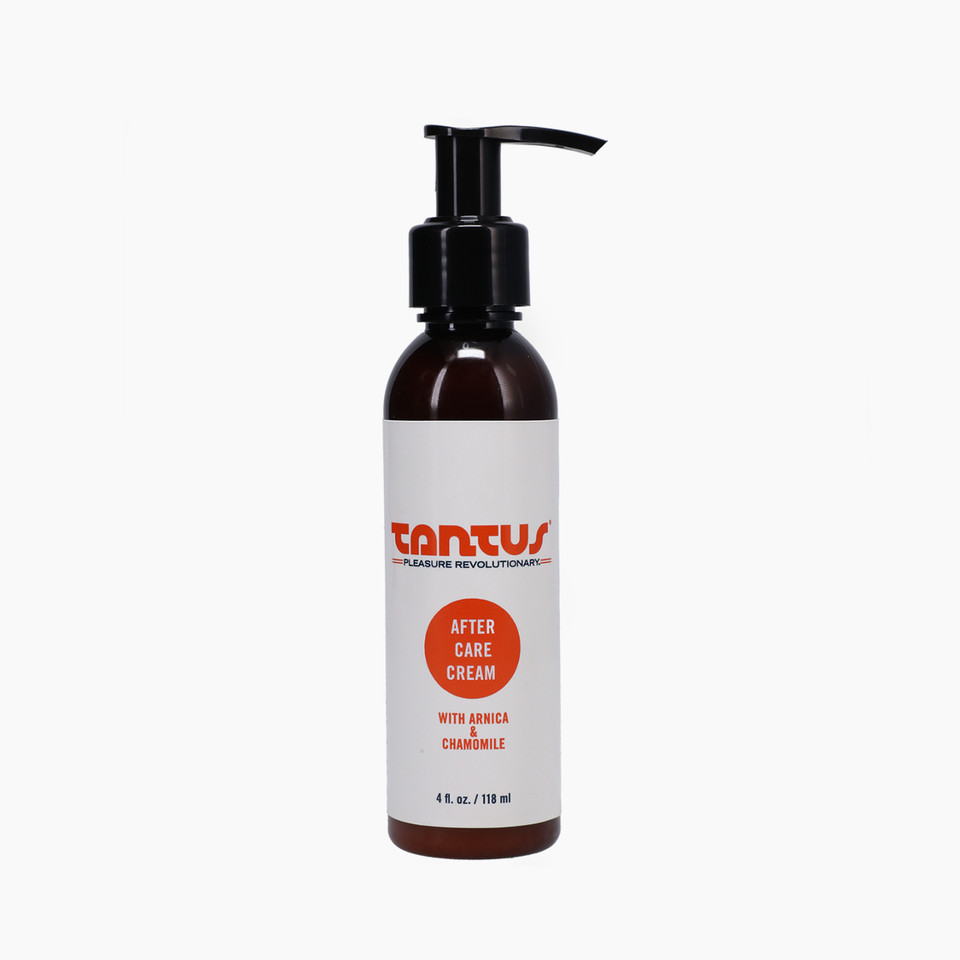 After Care Cream | 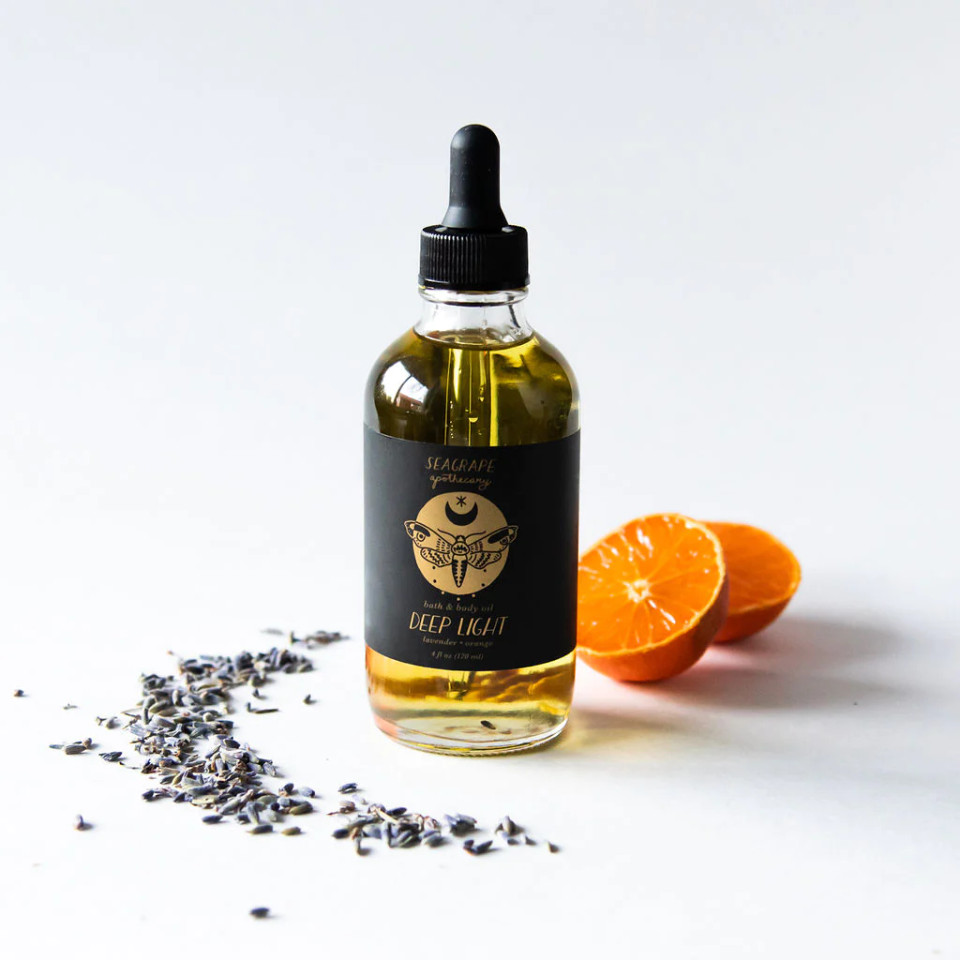 Sea Grape Massage Oil |
Go Get Knotty!
So let’s summarize everything we have learned from our Shibari FUNdamentals workshop:
Shibari is an ancient art that was used for restraint and torture. There are many types of natural fiber and synthetic materials that provide different possibilities or sensations during bondage. While rope is fun and sexy, it is also risky and can lead to serious injuries. Communication and checking in is absolutely essential. Learning a lark’s head knot and single column tie will provide the necessary foundation to build upon into more intricate and advanced harnesses. And rope bondage can be intense so remember aftercare.
Queen SanTana’s final words of wisdom: research anatomy, practice your rope, and learn from professionals! When it comes to Shibari fundamentals, you will only get better over time, so enjoy the journey.
If you want to explore more, check out some of our books on rope bondage:
 Seductive Art of Japanese Bondage | 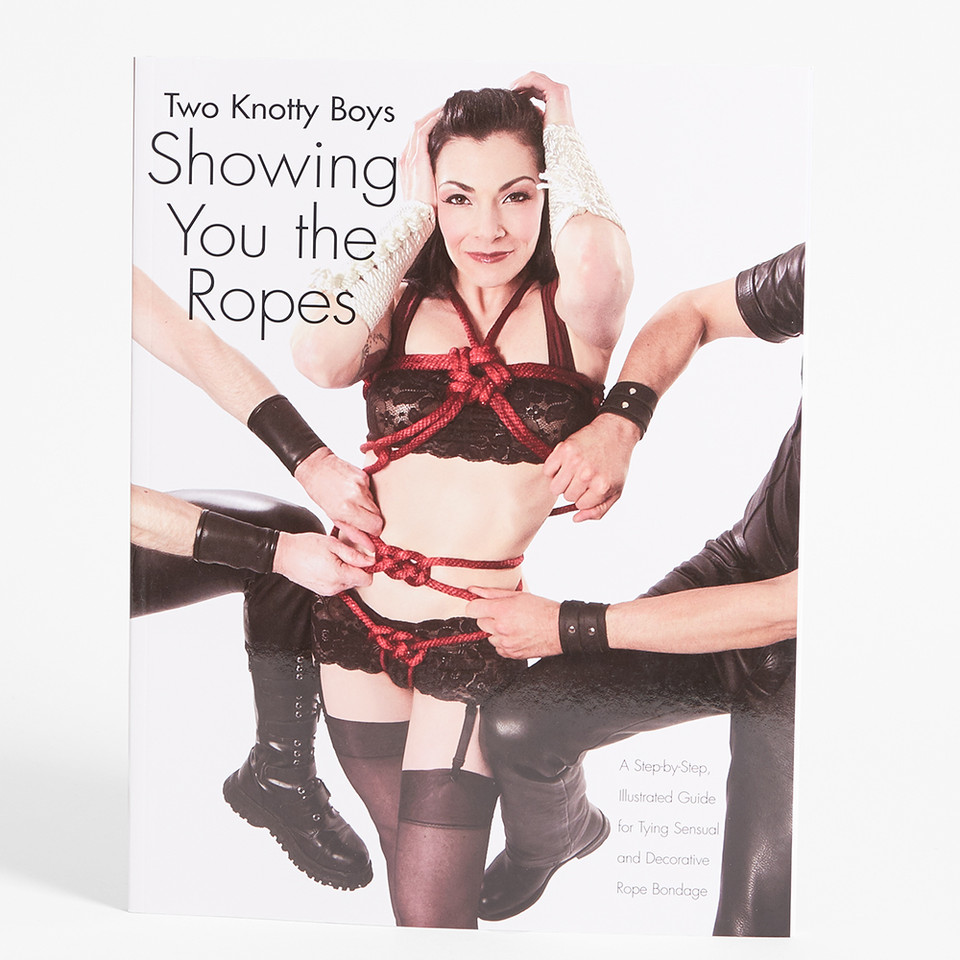 Showing You the Ropes |  Bondage Mini Book |
And if you want to stay in touch with Queen SanTana, you can follow her on Instagram at @bondagequeentana.
Jamie Joy (they/them) is a queer trans Jewish sex educator and hungry slut for freaky fantasies and kinky perversions. Their life and work is committed to spreading joy, pleasure, and consent through community organizing. As a triple fire sign Sagittarius, Jamie Joy is passionate about dancing while eating, playing sadistically with flaming floggers, and teaching people about the wonders of anal fisting. They are always excited to connect with new friends; you can find them on Instagram @badjewboy or email them at jamiejoyeducation@gmail.com.
